Snowflake Data Issue Resolver
In the data issue resolver stage, you enhance the quality of data in various ways by handling duplicate data, missing data, handling outliers, specifying the partitioning order, handling case sensitivity, string operations and so on.
-
In the data quality stage, add a data issue resolver node. Connect it to and from the Snowflake data lake as seen below.

-
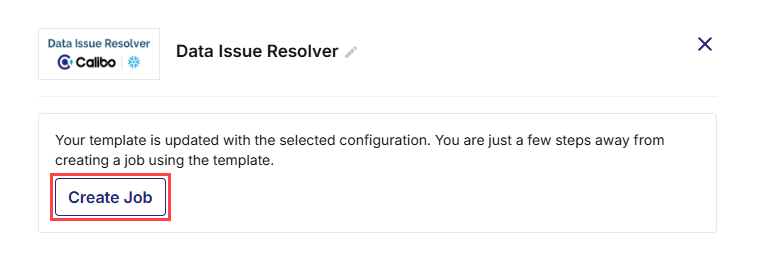
Click the data issue resolver node and click Create Job to create an issue resolver job.

-
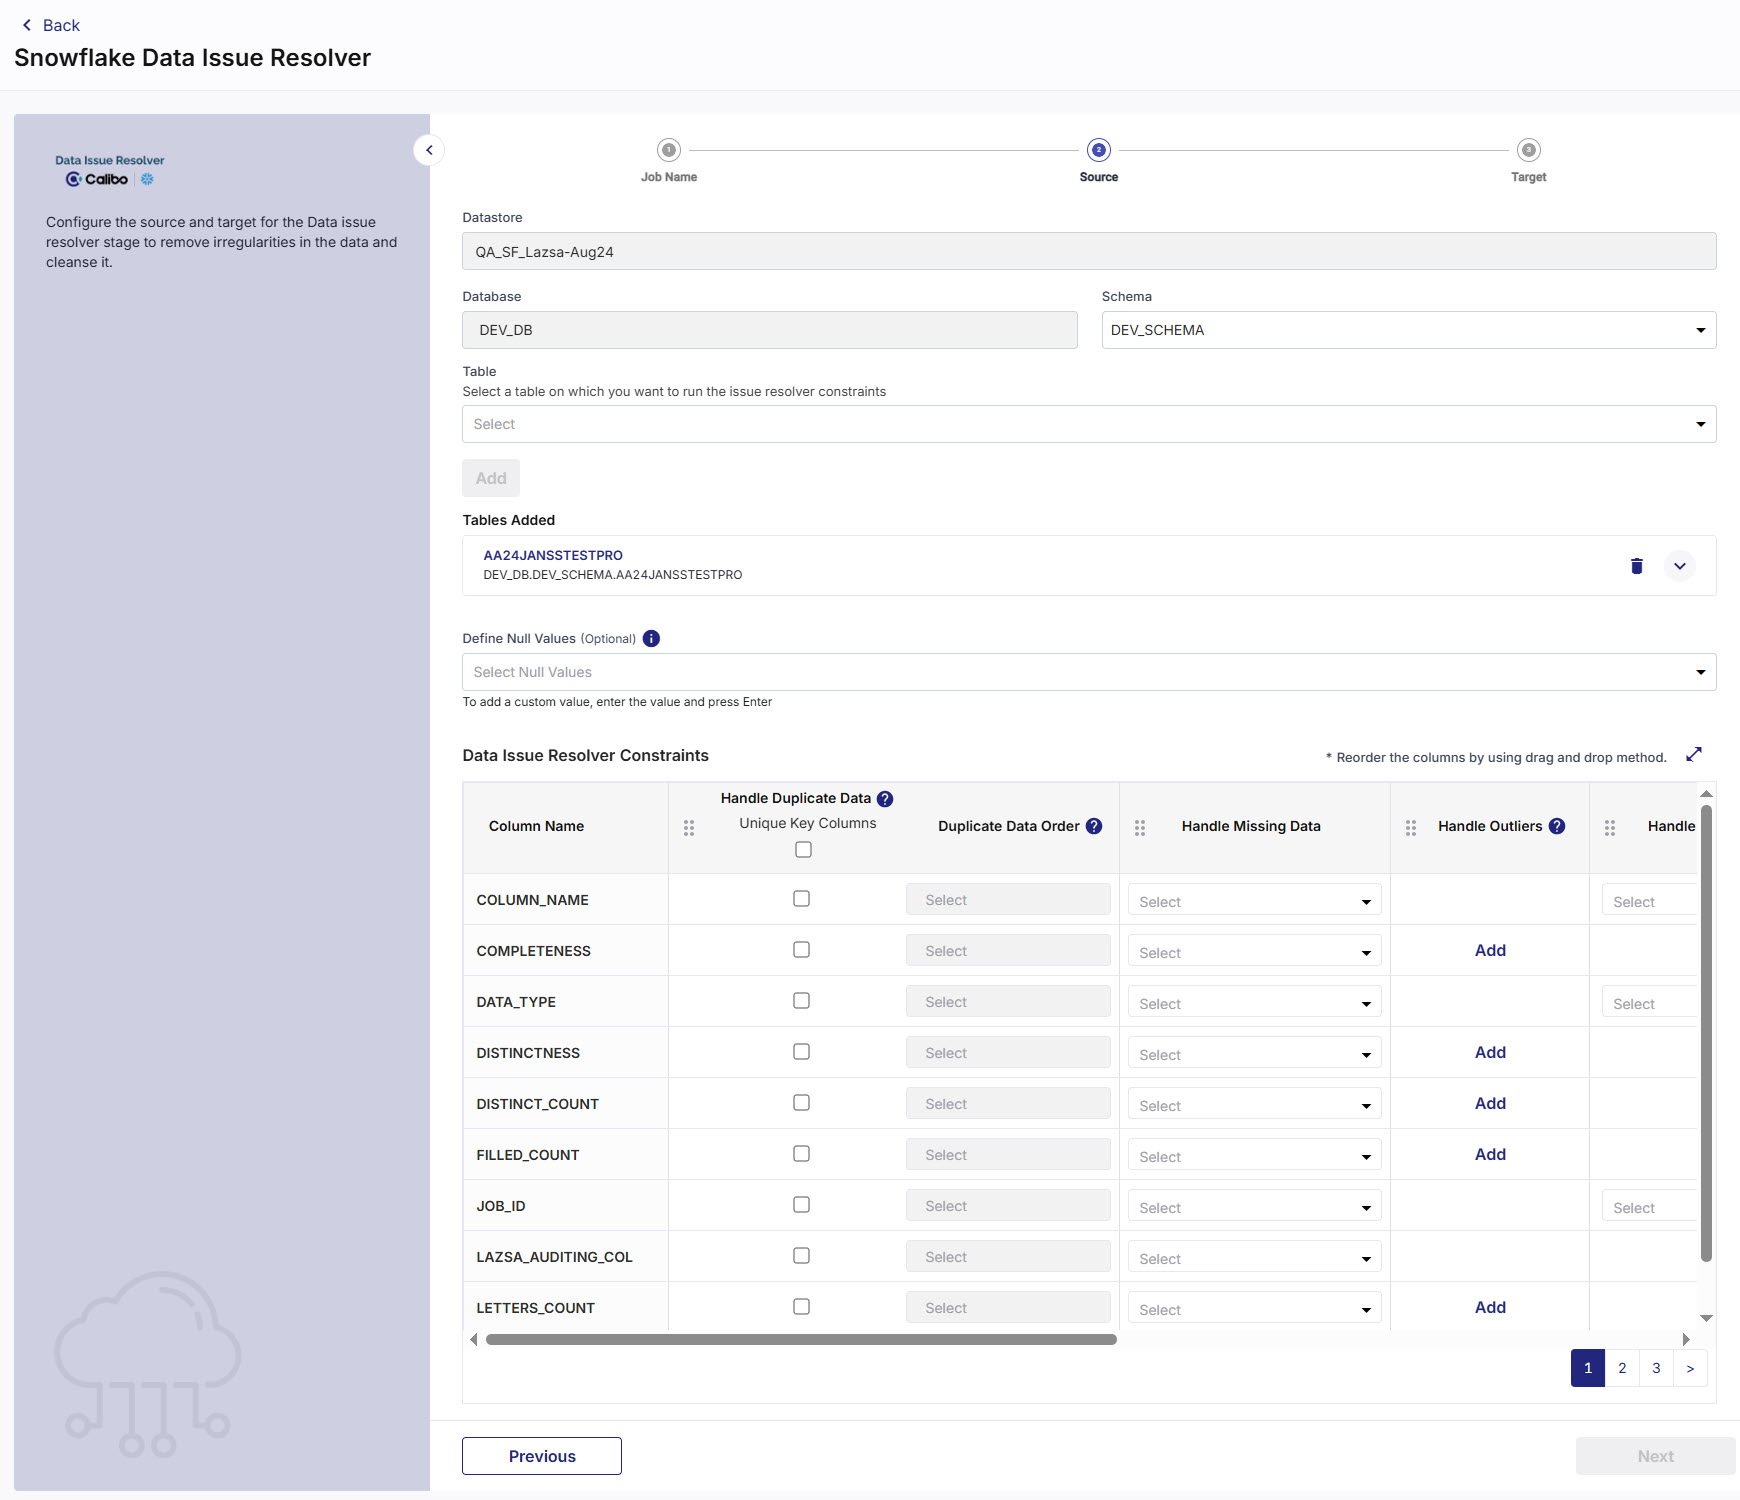
Provide the following information to create a data issue resolver job:
 Job Name
-
Job Name - provide a name for the data issue resolver job.
-
Node Rerun Attempts - Specify the number of times the job must be rerun, in case of failure. The default setting is done at the pipeline level.
-
Fault tolerance - Select the behaviour of the pipeline upon failure of a node. The options are:
-
Default - Subsequent nodes should be placed in a pending state, and the overall pipeline should show a failed status.
-
Skip on Failure - The descendant nodes should stop and skip execution.
-
Proceed on Failure - The descendant nodes should continue their normal operation on failure.
-
Click Next.
 Source

-
Datastore -This is automatically selected depending on the configured Snowflake datastore.
-
Database - This is automatically selected depending on the configured Snowflake datastore.
-
Schema -Select the schema according to your requirement.
-
Table - select a table on which you want to run the issue resolver constraints and then click Add. The selected table is seen under Tables Added. You can select only one table at a time. To select another table, delete the existing table and then select another one.
-
Define Null Values - Select the values from the dropdown to define which values should be treated as null. These values are excluded during processing. You can either select one from the dropdown or add a custom value.
Select from the following options:
-
NULL
-
NA
-
N/A
-
#NA
-
#N/A
-
EMPTY
-
null
-
-
Issue Resolver Constraints - select the constraints, based on your requirements. You can change the sequence in which the constraints are run on the dataset. Click the drag handle
 for each constraint and place it based on your sequencing requirement.
-
Handle Duplicate data
-
Unique Key Columns - select a column with unique key for handling duplicate data.
-
Partitioning Order - select the partitioning order for the required columns, choose from ascending and descending. For example if you have data for the past 5 years and you have selected partitioning type ascending, then you can see the oldest data at the top and the latest data at the bottom.
-
-
Handle Missing Data - Select the type of action you want to take on columns with missing data. Choose from the following: Remove Null/Empty and Update Null/Empty.
-
Remove Null/Empty - Removes the null or empty values from the column.
-
Update Null/Empty - Replaces the null or empty values from the column with the specified value. For timestamp columns, select the date and time using the calendar picker. For other data types, provide a value with which to replace the null or empty values.
-
-
Handle Outliers - Specify the integer value for handling outliers. Select the operator from (<, <=, >, >=, ==), provide the value. For records that meet this condition select one of the following actions:
-
Drop - remove the records that meet the selected condition and store them in rejected records table.
-
Replace with mean - replace the records that meet the selected condition with the mean (average) value of the column.
-
Replace with min - replace the records that meet the selected condition with the min (minimum) value of the column.
-
Replace with max - replace the records that meet the selected condition with the max (maximum) value of the column.
-
-
Handle String Operations - Perform operations on the string data type, on the selected columns. String operations include Trim, LTrim, RTrim, LPad, RPad, Regex Replace, and Sub-string.
-
Handle Case Sensitivity - Specify whether to handle case sensitivity. Options are lower case, upper case, and proper case.
-
Replace Selective Data - Specify values to replace existing values. You can specify multiple comma separated values. For timestamp columns, select the date and time using the calendar picker.
-
Handle Data Against Master Table - Perform a lookup against the master table in Snowflake, allowing users to provide either static values or master table column names. Entries that do not match the master table or static values are filtered out and saved in the rejected records table.
-
 Target
-
Database - This is automatically selected based on the target.
-
Datastore - This is automatically selected based on the target.
-
Schema - Select schema based on the selected target.
-
Table -Provide a name for the table to store the issue resolver output based on the selected constraints. Refer to Snowflake Identifier Requirements
-
Store Rejected Records - Enable this option to store the records that fail to meet the selected constraints.
-
Schema - Select the schema for the table in which the rejected records are to be stored.
-
Table - Provide a name for the table in which you want to store the rejected records.
-
Click Complete.
-
-
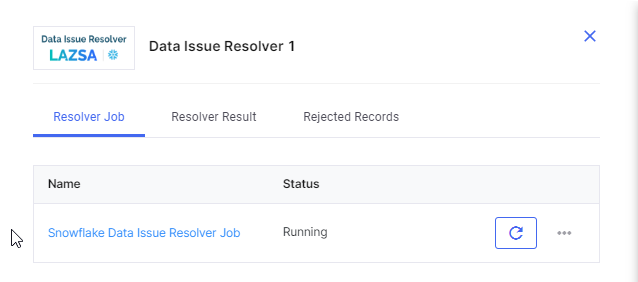
After you create the job, you can run the job in the following ways:
-
Publish the pipeline and then click Run Pipeline.
-
Click the Issue Resolver node and click Start to initiate the job run.
Once the job run is complete, notice that two additional tabs are visible - Resolver Result and Rejected Records.

-
-
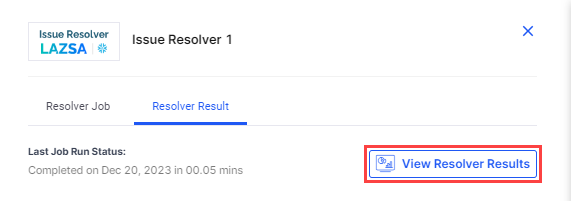
Click the Resolver Result tab and then click View Resolver Results.

-
The Output of Issue Resolver screen displays the results of the issue resolver job.

Click the icon to download the CSV file.
| What's next? Data Quality Constraints |